Before the inspector arrives
Have your homeowners insurance policy information handy, along with any documentation for wind-resistant upgrades you've made — permit records, product approval numbers (Florida Product Approval or Miami-Dade NOA numbers) for impact windows, doors, or garage doors, and roof permit or replacement records if your roof has been redone. If you have an older wind mitigation inspection on file, have that too; it can help the inspector understand what's changed since the last one. Make sure attic access is reachable and clear, since that's one of the areas the inspector needs to get into.
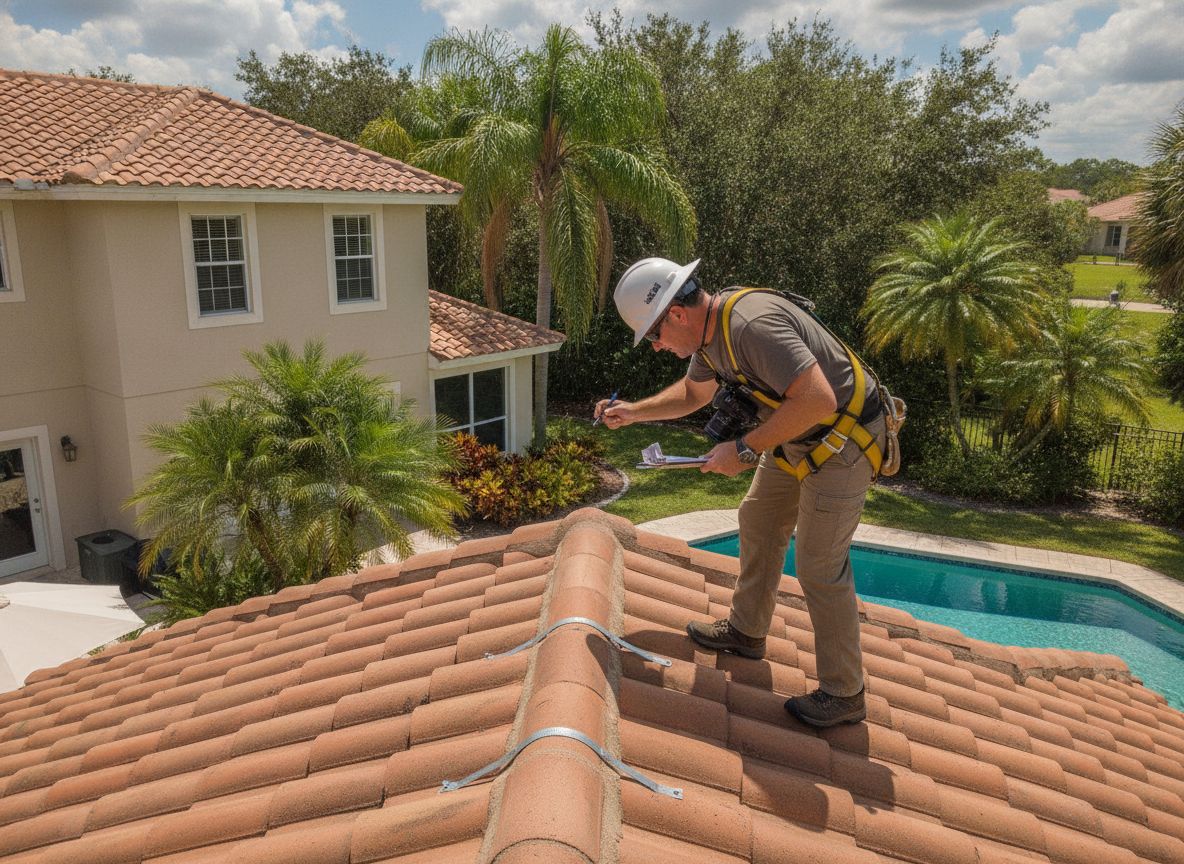
Exterior walkthrough
The inspector will walk the exterior of the home, documenting the roof covering type and general condition from the ground or via photos, and noting the roof shape — hip, gable, or a combination — since geometry affects wind performance. They'll also examine every exterior opening: windows, entry doors, sliding glass doors, the garage door, and skylights, checking for impact-rated glazing markings or the presence of code-rated shutters, and confirming that protection is applied consistently across every opening rather than just some of them.
Attic inspection
This is often the most technical part of the visit. From inside the attic, the inspector examines the roof deck attachment method — how the sheathing is fastened to the trusses — and the roof-to-wall connections, checking whether the roof is secured with toe nails, clips, single wraps, or double wraps of hurricane strapping. They're also looking for the presence of a secondary water resistance barrier, typically a self-adhering membrane under the roof covering. These attic-level details carry real weight in the overall mitigation credit calculation, so this part of the inspection is not a formality.
Documentation and product verification
For opening protection specifically, the inspector will want to verify that installed windows, doors, and garage doors are genuinely impact-rated products, not just visually similar to impact products. This is where having your installation paperwork and product approval documentation on hand saves time and avoids ambiguity — an inspector working from your invoice and approval numbers can document the opening protection category with more confidence than one working from a visual inspection alone.
How long it takes
[typical duration pending] Duration varies with home size and how easily accessible the attic and exterior are, so we won't publish a specific number here that might not hold for your particular home. Your inspector can give you a realistic estimate when you schedule.
What happens after the inspection
The inspector completes and signs the OIR-B1-1802 Uniform Mitigation Verification Inspection Form, documenting everything observed across each category. You then submit that completed form to your homeowners insurance carrier — usually through your agent — where it becomes the basis for whatever wind mitigation credit your carrier's filed rate schedule provides for the features documented. We cover that hand-off process in more detail in our OIR-B1-1802 form guide. The completed inspection, under the current form version (revised effective April 1, 2026), remains valid for five years unless a significant change — like a roof replacement — happens sooner.
If you're planning window, door, or garage door work
If you know you're about to install or replace windows, doors, or a garage door, it's usually more efficient to complete that work first and schedule (or reschedule) your wind mitigation inspection afterward, so the inspector can document the upgraded opening protection in the same visit rather than requiring a follow-up. We're glad to coordinate timing with you around a planned project.
Request a Free Assessment